Learn how to how to Fix a skim ceiling or contact sky ceilings in cape town to do it for you.
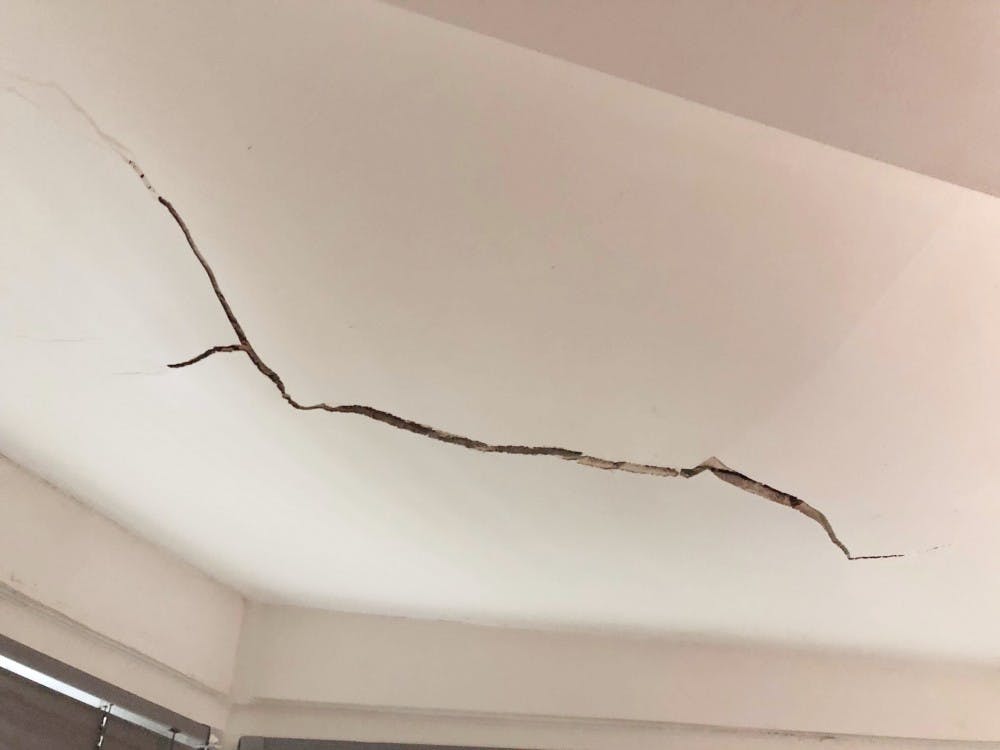
If a plaster on your ceiling need a touch-up? Are there cracks or holes in your ceiling you need to repair? Then it might just be time to learn how to plaster a ceiling.
The process of plastering a ceiling can be messy but that doesn’t mean you should rush through it. Mastering proper plastering techniques takes time and patience. So pack your patience, dedication, and before you know it your plastering project will soon be well on its way.
Prefer to hire a professional instead? Submit your enquiry in our contact feed our technical team would be happy to help
How to Plaster a Ceiling Step by Step
So you’re ready to take on plastering your ceiling, are you? Well, just follow the simple steps outlined below and you’ll soon be well on your way!
1. Gather Your Tools and Equipment
Before you begin plastering your ceiling, you will need to gather a few tools first. Keep these handy for the duration of the project. Then, if you need something mid-project it will be close at hand.
We’ve included a list below of the most important tools and supplies for plastering a ceiling:
- Plaster
- Plastering trowel
- Ladder
- Mixing stick
- Sandpaper
- Clean water and sponge
Once you’ve gathered all the essential supplies then it’s time to begin the prep work.
2. Prepare the Area
Skimming a ceiling is messy there is simply no better way to put it. You’re balancing on a ladder with wet cretestone/rhinolite on a trowel that you spread across the ceiling. This means, there’s a pretty good chance that some of it is going to drip down and land on your or the surrounding area.
The best way to counteract this is to plan ahead. Remove as much furniture as possible from the room. Then, cover any remaining furniture as well as the floor with a sheet of plastic. Take special care to ensure that the entire floor is covered. You don’t want plaster falling and hardening on your carpeting or hardwood.
To protect yourself, you should wear a renovation mask and some old clothes. While the mask prevents plaster from landing in your mouth, the clothes will protect your skin. Not to mention that using old clothes means you won’t destroy any favourite pieces.
3. Prepare the Ceiling
Do you have uneven patches on your ceiling? Then you should sand these down first. You don’t want the faults of your old ceiling to carry over after you are finished your project.
Then you’ll need to tidy up. Even if your ceiling is newer you should still follow these steps and tidy to remove any hidden dust. The good news is, that cleaning your ceiling is relatively easy. Use a vacuum to remove old cobwebs from the ceiling and then a sponge with some soapy water to wipe up any dust that remains. After this, get rid of any traces of soap residue by sponging the ceiling with clean water after following this step.
Are you plastering on a surface that has been exposed to oil? Then use a degreaser. If you don’t remove the oil before you plaster, it won’t set.
If you have a hole in your ceiling, you will also need to take some steps to patch this up first.
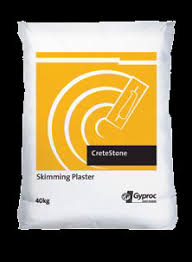
4. Start Mixing Your Cretestone or Rhinolite
Mixing plaster is relatively easy. The way to mix your cretestone is by using equal parts of water and plaster. Then add the plaster to the water using your mixing stick to create a smooth consistency. Once the consistency is just right you can move on to the next step.
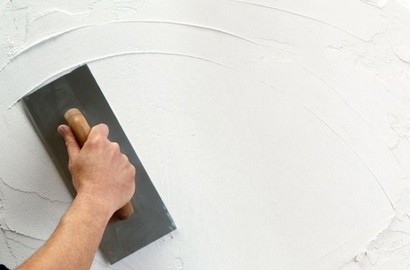
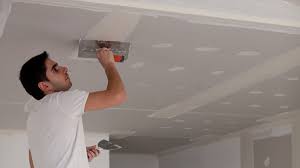
5. Skimming Techniques
Now that you have your cretestone (plaster) all mixed you can begin skimming your ceiling. In order to skim your ceiling properly, you will need to learn how to skim a ceiling using cretestone.This is a pretty simple process but it does require some patience.
Remember that while you are skimming the ceiling you should always have someone nearby to hold the ladder steady. It is important to make safety a top priority.
To skim a ceiling with cretestone, first, dab some clean water on the ceiling where you plan to apply the plaster. Then add a small amount of plaster to the edge of your plastering trowel to create a thin, even layer. For your convenience, apply the plaster in rows that are about a metre long. Divide each part of the ceiling into manageable steps and don’t forget to take breaks!
As you apply the cretestone you should also use the rough edge of your plaster trowel to createstone scrapes or scratches in the plaster. Continue this process along the entirety of the ceiling.
Once the ceiling is entirely covered with a skimming plaster, let it set completely. Depending on the type of plaster you use this could take up to 48 hours. After your plaster is set you can apply a second coat continuing to use the skim coat technique. Together these two fine layers of plaster will contribute to a smooth and even ceiling.
6. Sand and Smooth It Out
No matter how skilled you are at applying a skim coat to your ceiling will going to end up with a few bumps along the way. Don’t fret though, this has an easy remedy. Just grab your handy piece of sandpaper that you gathered earlier with your tools. Then, use this to sand the bumps away. With a bit of elbow grease, your ceiling will soon be smooth, even and ready for a coat of paint!
Plasterers near you
Thousands of people across the Cape Town ask Sky Ceilings for help with their projects every year. Tell us what you need so we can bring you the right local professionals for your project.
How to Fix a Hole in the Ceiling
Do you have a hole or crack in your ceiling that you need to patch up? Then you’ll need to take a few extra steps first before you begin the plastering process outlined above.
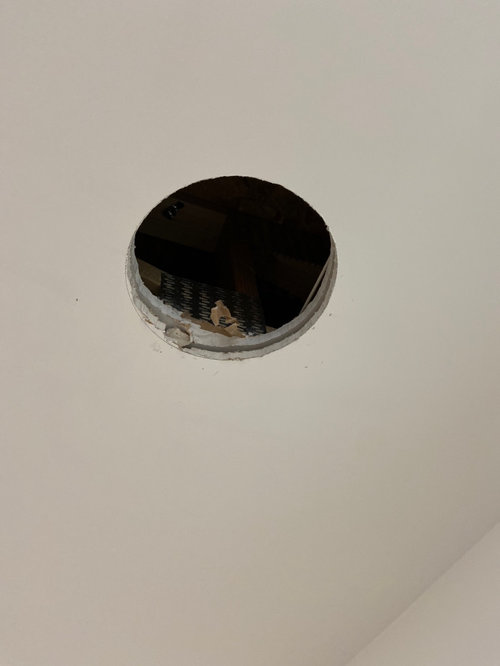
First, brush any loose plasters away you don’t want loose plaster particles around the edge of the hole to compromise your project.
Second, fill the hole with plaster. This will be the first coat of plaster you apply. If you have a lath ceiling, make sure the plaster surrounds the lath. Then let this set completely.
Then, cover the hole with a piece of wire mesh. If the piece of mesh isn’t sticking properly, use wooden dowels to keep it in place. The wire mesh will strengthen the area so that it is sturdy and strong once the project is complete.
Add another layer of plaster over the wire mesh. When the plaster is completely dry, snip off any exposed pieces of wire from the mesh.
Then, sand down the edges of the hole so that they are smooth and even. With proper sanding, you won’t even notice the area where you sanded the hole!
How Much Does It Cost to skim a Ceiling?
Contact us today and we will guide you with the pricing.
Thanks for your blog, nice to read. Do not stop.